Building a Wood-Fired Pizza Oven with Reclaimed Fire Bricks: A Comprehensive Guide
Introduction
Crafting your own wood-fired pizza oven is a rewarding project that brings both culinary delight and rustic charm to your outdoor space. Using reclaimed fire bricks not only adds character but also promotes sustainability by repurposing durable materials. This guide provides a detailed walkthrough of the construction process, ensuring you have all the information needed to build a functional and long-lasting pizza oven.
Tools and Materials
Essential Tools:
-
Spirit level
-
Tape measure
-
Brick trowel
-
Angle grinder with diamond blade
-
Rubber mallet
-
Bucket for mixing mortar
-
Safety gear (gloves, goggles, dust mask)
Materials:
-
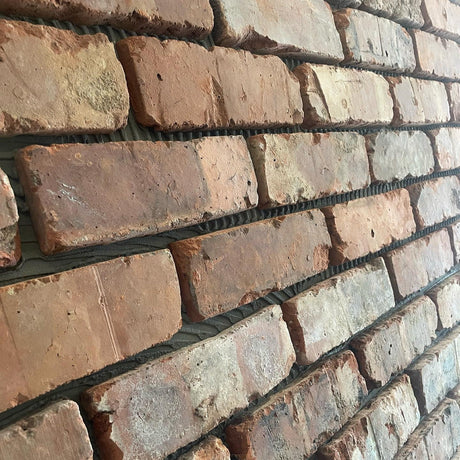
Reclaimed fire bricks (approximately 200–250)
-
High-temperature refractory mortar
-
Concrete blocks or bricks for the base
-
Insulation materials (ceramic fiber blanket, vermiculite)
-
Concrete mix for the foundation slab
-
Chimney flue or clay pipe
-
Plywood and lumber for dome support
Step-by-Step Construction
1. Foundation Slab
Begin by selecting a level area for your oven. Excavate the site and lay a compacted gravel base. Construct a formwork for your concrete slab, ensuring it's level and square. Pour the concrete mix into the form, embed rebar for reinforcement, and allow it to cure for at least 48 hours.
2. Oven Base
Using concrete blocks or bricks, build the base walls to your desired height, typically around waist level for comfortable access. Leave an opening at the front for wood storage. Cap the base with a reinforced concrete slab, which will serve as the platform for your oven.
3. Insulation Layer
On top of the base slab, add an insulation layer to retain heat within the oven. This can be a 4-inch layer of vermiculite mixed with cement or a ceramic fibre board. Ensure the insulation layer is level and smooth.
4. Oven Floor
Lay the reclaimed fire bricks on the insulation layer to form the oven floor. Arrange them in a herringbone pattern to minimize seams and prevent movement. Dry-fit the bricks without mortar to allow for thermal expansion.
5. Dome Construction
Construct a wooden dome support using plywood cut into a semi-circular shape, supported by a central post. Begin laying fire bricks around the support, using refractory mortar to bond them. Stagger the joints for strength and continue building until the dome is complete. Allow the mortar to cure before removing the support.
6. Chimney Installation
At the front of the dome, leave an opening for the chimney. Install a chimney flue or clay pipe vertically to vent smoke. Secure it with refractory mortar and ensure it's properly aligned.
7. Insulating the Dome
Wrap the dome with a ceramic fiber blanket for insulation. Over this, apply a layer of chicken wire to hold the final render. Mix a render of sand, cement, and lime, and apply it over the insulation to protect it from the elements. Smooth the surface for a finished look.
Firing Up Your Oven
Before cooking, cure the oven to remove moisture and prevent cracking. Start with small fires, gradually increasing the temperature over several days. Once cured, your oven is ready to bake delicious pizzas and more.
Maintenance Tips
-
Regularly remove ash and debris from the oven floor.
-
Inspect the chimney for blockages and clean as needed.
-
Cover the oven during prolonged periods of non-use to protect it from weather.
Sustainability and Benefits
Using reclaimed fire bricks not only adds a unique aesthetic but also promotes environmental sustainability by repurposing materials. A wood-fired oven enhances outdoor cooking experiences, offering authentic flavours and a focal point for gatherings

Useful Resources
Embarking on building your own pizza oven is a fulfilling project that combines craftsmanship with culinary delight. With careful planning and quality materials, you'll enjoy delicious wood-fired pizzas for years to come.