A driveway is much more than somewhere to park the car; it's the first impression people get of your home. Our reclaimed cobbles are perfect for creating beautiful, authentic driveways that stand the test of time. Reclaimed granite cobblestones can tolerate the heavy weight of several vehicles – and this makes it an ideal construction material for a driveway. In our 4-step guide, we'll show you how to lay our versatile reclaimed granite for a unique stone driveway that will enhance your property visually and financially.

1. Choosing Your Reclaimed Granite Setts For Your Stone Driveway
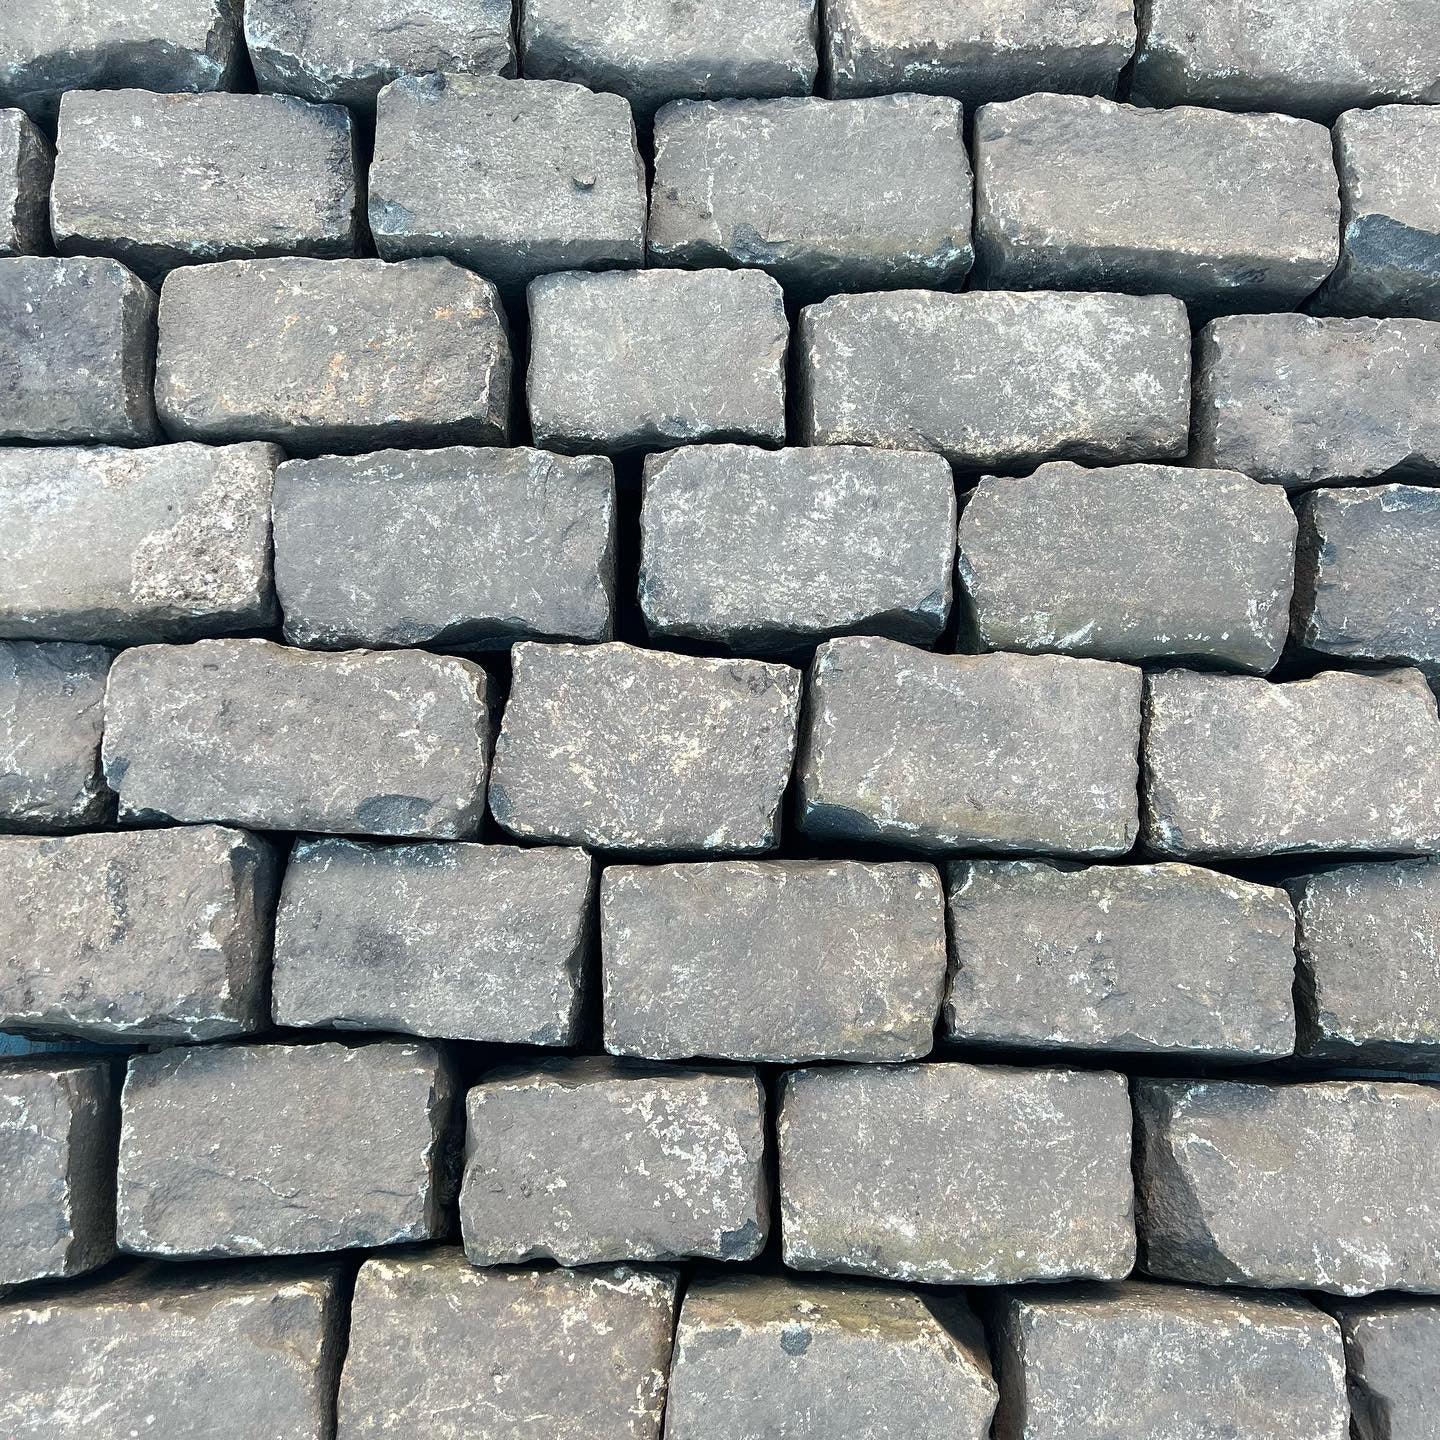
Using reclaimed material is like owning a piece of history or, as we like to say, "Preserving British Heritage to Build the Future". At Reclaimed Brick Company, we source our reclaimed bricks from demolition projects nationwide. From derelict farmhouses to significant commercial developments, you'll find the perfect colour and finish to give your stone driveway the authentic kerb appeal you desire – it could also increase the value of your home. From our reclaimed pink granite to our reclaimed mixed granite, all our cobbles have been carefully hand-sorted, mortar removed, and placed in bags ready to use.

2. Prepare The Ground
Make sure the area you are working on is level, firm and well-drained. You can include a fall to ensure water can drain away – 1:40 crossfall and 1:80 endfall. Lay a sub-base to a depth of 100-150mm. The exact depth of the sub-base may vary depending on the ground. For example, if the area has previously been used for grass, you may require a greater depth of sub-base material to ensure no movement when the ground settles. Use a plate vibrator or roller to compact the area thoroughly.
3. Laying Your Reclaimed Granite Cobbles
Depending on what pattern you choose to lay your reclaimed granite, it may be handy to follow a string line or straight edge to ensure consistency. Lay the cobbles on a mortar base up to 30mm thick, three parts sharp sand to one part cement. It's important to lay the cobbles on a mortar base that will allow for variations in the natural granite. Try and position the cobbles a finger-width apart for a consistent pattern and bed them down firmly with a rubber mallet.

4. The Finishing Touches
Once dry, fill the joints with a workable mortar using a pointing trowel. If you need the area to drain freely, you will need to use an absorbent jointing compound that works with your sub-base. These reclaimed granite cobbles can look fantastic pointed by hand, or you can have the jointing gaps slurry pointed to create a smoother, more 'lived in' look. Your jointing option can make a big difference to the finished surface, so it's worth thinking carefully about your options.

Laying a stone driveway can be daunting whether you're a tradesman or a seasoned DIYer. Here at the Reclaimed Brick Company, we've built a reputation as a leader within this industry, so please get in touch with any questions you may have. Our friendly team is on hand to help.
Looking for inspiration? Check out our customer projects using our reclaimed cobbles.


